The content of the article
Beauty salons and piercing studios offer their customers to pierce their ears with professional tools. As a rule, the procedure is carried out using a “gun” in which the earring is set. However, many people prefer to pierce their ears the old fashioned way at home. The process requires some skill and attention to detail. Due to a lack of experience, there is a risk of infection, as a result of which the earlobes can fester. We highlight important aspects and provide step-by-step instructions.
Essential Ear Piercing Tools
- For the procedure you will need to purchase sterile needles. Such tools are equipped with an empty center, so that the earring can be easily inserted. Devices are sold in tattoo and piercing salons.
- At home, many housewives prefer to pierce their earlobes with a pin. Such a move will prevent slipping of the tool in the hands, as can be the case with the needle. A specialized store sells a sterile piercing kit; it makes sense to consider this option.
- Important attention should be paid to earrings. After a puncture, special cloves are inserted into the ear, which have a thin end, but a wide center. Such products help to form a hole for jewelry, which will be worn in the future.
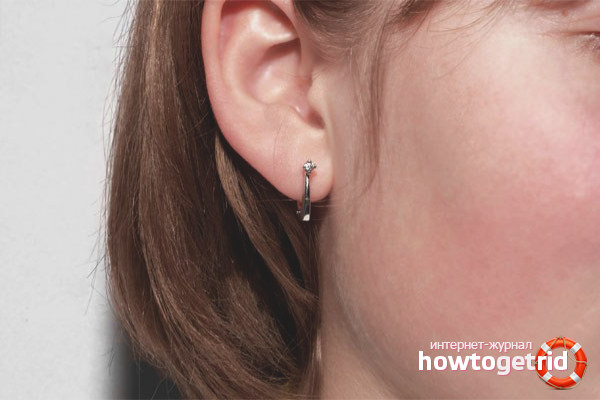
- Give preference to earrings made of pure silver or gold, surgical steel, medical alloy. Such jewelry practically does not contain nickel - the strongest allergen.
- Take care of disinfectants in advance, such as alcohol, peroxide, vodka, or regular cologne. These funds will be needed for sterilization of hands, earlobes and instruments.
- To pierce your ears at home, you will need a clean school eraser, a piece of potato or apple, champagne / wine cork or a third of a bar of soap. One of these components serves as a pillow against which the needle rests on the back of the lobe.
Step number 1. Sterilize tools
If you use not a special sterile device for piercing the ears, but a needle or a pin, the instruments must first be sterilized.
- The procedure can be carried out using a lighter: hold the needle over an open flame for 10-15 seconds, cool. After that, soak the cosmetic sponge in hydrogen peroxide, Chlorhexidine or medical alcohol, wipe the needle.
- Spread a paper towel on a flat surface, place a tool on it and leave to dry. Do not touch the tip of the needle until you pierce your ears.
- Sterilize earrings. To do this, pour hydrogen peroxide solution or alcohol into the container, send the product into the liquid, leave it for 3-5 minutes. After the expiration date, place the earrings on a paper towel next to the needle (until completely dry).
- Before sterilizing jewelry, it is advisable to unfasten the fasteners from the main part. Such a move will help you put earrings on your ears faster and fix them on your earlobe.
- It is important to understand that the above methods do not guarantee 100% protection against bacteria. If possible, purchase a special piercing kit, it already includes sterilized products and instruments.
Step number 2. Get your ears ready for the procedure
Before piercing the ears, they must be treated with an antiseptic. Otherwise, bacteria will enter the wound cavity and the lobes will begin to fester.
- Dip a cosmetic swab in a solution of hydrogen peroxide (concentration of 3-6%), medical alcohol, vodka or Chlorhexidine.
- Squeeze a cotton pad, wipe the earlobes with it. Repeat the procedure 2-3 times, replacing the used sponge clean. If possible, purchase a special antiseptic gel "Bastin", which is sold in piercing salons.
- Before piercing your ears, allow the skin to dry well. During this period, all bacteria will die, so you eliminate the risk of infection.
- After ear sterilization, it is necessary to mark the points on the lobes in which the holes will be located. For these purposes, use a ballpoint pen or felt-tip pen, most importantly, observe symmetry.
- Now you need to anesthetize your ears so that the procedure goes unnoticed. This will help ice cubes, rub their lobes for 2-3 minutes.
- It is important to understand that cold does not affect the skin in the most favorable way. The lobes will become stiff, so the piercing process can be difficult.
- You can use a special anesthetic gel that is rubbed into the skin. The composition is sold in a tattoo salon of masters, a piercing studio and a pharmacy.
Step number 3. Pierce ears
After the necessary preparatory measures, you can proceed to the procedure.
- To begin, wash your hands with soap, dry them with a towel, do not apply cream in any case, otherwise the needle will slip in your hands.
- Treat your skin with a special antiseptic that contains alcohol. If you wish, you can skip this step by wearing sterile medical gloves (carefully select the size).
- Cut a small piece from the bar of antibacterial soap, attach to the back of the lobe. Hold it as tightly as possible so that after the puncture the tip of the tool goes inside.
- If desired, you can replace the soap bar with a slice of green apple or a cork from wine / champagne. After fixing the back wall, bring the needle to the intended puncture site.
- It is important that the pin or needle is perpendicular (90 degrees) to the earlobe. Otherwise, the piercing will look asymmetrical, ugly.
- The needle must be inserted so that the puncture is carried out directly above the intended point.
- Now take a breath, then in one sharp movement push the needle into the skin so that it sticks into the soap bar on the back of the ear.
- If you have not used anesthetic gel or ice, the ear will begin to pinch and turn red. The procedure can not be called painful.
- Hold the tool in the earlobe for 1 minute, move the needle clockwise to prepare the hole for insertion of the earring. Repeat with the second ear.
- Pull out the needle, pull on the earlobe, insert the earrings and fasten them. Wipe the lobe with a cotton sponge dipped in hydrogen peroxide or medical alcohol.
Ear Care after Piercing
After the procedure, it is very important to ensure safety for yourself. Otherwise, there is a risk of infection in the wound, which will lead to inflammation and suppuration. Follow preventative measures.
- Do not remove earrings within 1-1.5 months after the procedure. Over the specified period, the wounds will be completely healed, as a result of which you will not irritate the puncture site by inserting and removing the earring.
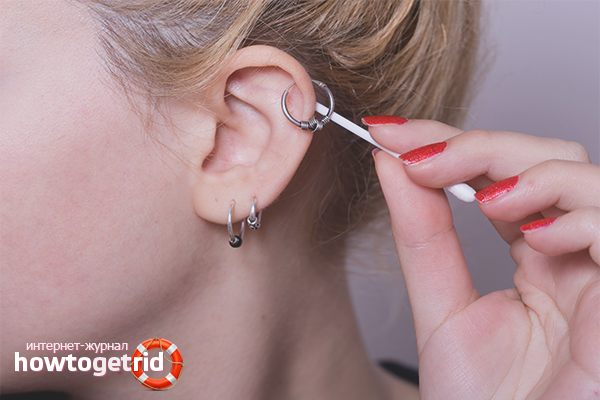
- Daily process earlobes around the piercing to avoid infection. For effective cleansing, use bactericidal, anti-inflammatory, or antiseptic solutions. These include medical alcohol, vodka, a solution of sea salt and soda, hydrogen peroxide, Chlorhexidine, Miramistin, etc.
- To disinfect the wound, soak a cosmetic sponge in the selected composition, wipe the earlobe with it. Then apply the product on a cotton swab, do not wring. Work the skin around the puncture by slightly pushing the earring back. If the vial allows, try pouring a little composition directly into the wound.Such manipulations must be carried out on both sides of the lobe.
- On the Internet you can find a lot of recommendations that state that earrings must be scrolled in your ears daily until the moment of healing. However, we do not recommend this, as the process will significantly increase the healing time. So that the product does not grow together with the skin, it is enough to scroll it once a week. The rest of the time, limit yourself to treating with an antiseptic, dripping it into the wound cavity.
- It is important to understand that home piercing implies a risk of infection. In this case, the main thing is to take the necessary measures in time so that the bacteria do not grow. A compress will help you in the procedure: pour 200 ml into a sterile container. boiling water, add 30 gr. soda and 20 gr. salt, mix until the crystals dissolve. Fold the sterile gauze in 5 layers, soak it in the product, cool and attach to the ear on both sides. After that, treat the wound with peroxide, apply a cream with local antibiotics. If no improvement is noticed during the day, go to an appointment with the therapist.
Practical recommendations
- In cases where after a puncture, titanium or medical (surgical steel) earrings are inserted into the ears, there is no need to scroll them at all. Your actions can cause the infection to enter the wound cavity, causing inflammation. In addition, the healing time will increase by 2–2.5 times.
- If the goal is to pierce several holes in one ear, carry out the procedure in stages. To start, make one hole, let it heal. Only after this proceed to the second, third puncture.
It is easy to pierce your ears at home, if you have sufficient knowledge regarding the procedure. To get started, prepare the necessary tools and materials, disinfect them. Mark the puncture site with a marker, place a piece of apple over the lobe. Insert the needle at a right angle, hold for half a minute, insert the earrings.
Video: how to pierce a child’s ears with a “gun”


Submit